Browse docs
Content
Content
Accessing the Console
Choosing the right configuration for your game can significantly enhance your gameplay experience. While the in-game menus allow you to adjust basic settings, the console provides access to advanced features and customization options.
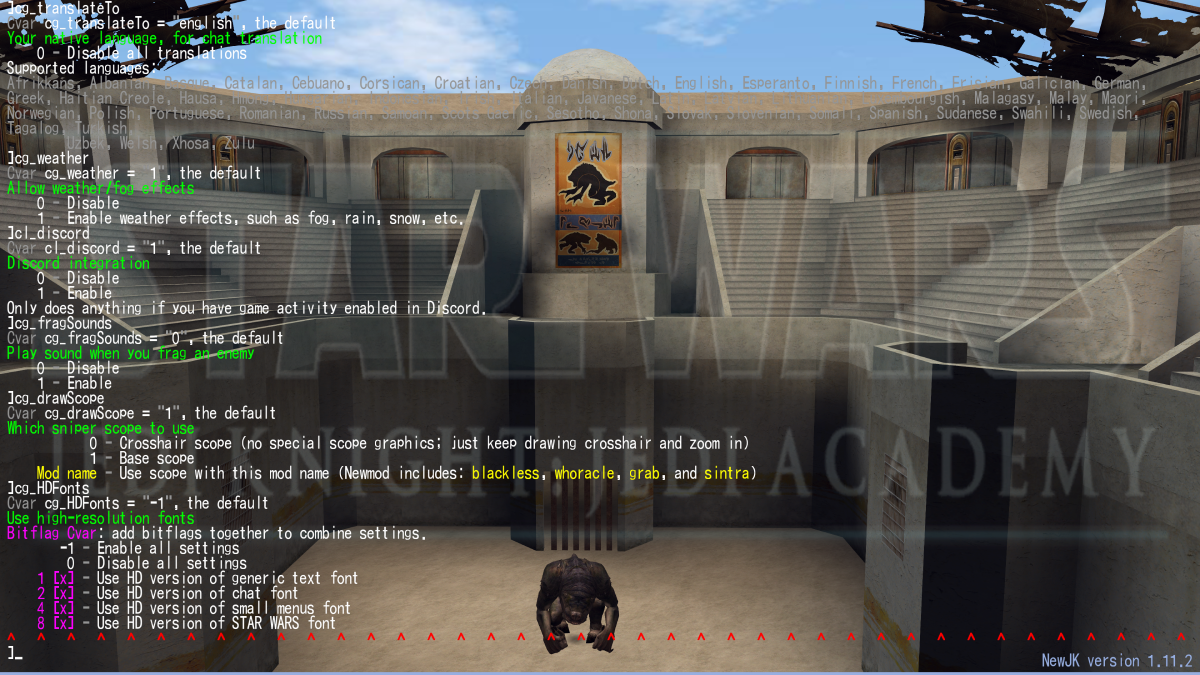
To activate the console, press Shift + Tilde (~) on your keyboard while in-game. The console will slide down from the top of the screen. You can enter commands into the console, one per line. Use the Tab key to auto-complete commands, map names, and (if disconnected) demo names, similar to a Unix terminal.
When browsing through the console's output, use PgUp to scroll up and PgDn to scroll down. If you are using NewJK, you can also scroll through the console using your mouse wheel, making navigation even easier. To execute multiple commands on a single line, separate them with a semicolon ;.
Settings
Binds
Binds allow you to execute commands in-game without opening the console. Instead of typing commands repeatedly, you can assign a key to a specific command. For example, in the default configuration, the W key is bound to the +forward, making your character move forward. To create your own binds, use the following command in the console: /bind <key> <command>. For instance, typing /bind g kill in the console will bind the G key to the kill command, which is often used to quickly respawn your character during gameplay.
Toggle
Many variables in the game are binary, meaning they can only have two values, such as 0 and 1. You can use an exclamation mark ! to create a toggle, allowing a key to switch between these two states. For example, the command: /bind <key> cg_thirdperson ! will bind the key to toggle the view between first-person and third-person perspectives.
Autoexec
If you want certain commands to execute automatically when the game starts, create a configuration file named autoexec.cfg. Save this file in the /GameData/base/ folder. Write your desired commands in the file, with one command per line. These commands will run automatically when you launch the game.
Config Files
All of your setup information is stored in a .cfg file. If you start the game and there are no cfg files in the /GameData/base/ folder, the game will generate a default jampconfig.cfg file for you. This file is executed every time the game launches and is rewritten every time you exit the game. It saves the state of all archived variables, as well as your assigned binds. The settings in the cfg file directly relate to the console commands, so if you are familiar with the console, you can write a cfg file manually, and vice versa. You can also execute any .cfg file in the console by typing /exec <filename>.cfg.
Recommended Game Settings
Most of the settings can be accessed and customized through the in-game newmod menu. Below are settings recommended to optimize performance and customize in-game features. These options enhance clarity and responsiveness during gameplay.
// Increases your field of view
seta cg_fov "120"


// Replaces the graphical HUD with a simpler text-only version, providing more screen space and easier readability
seta cg_hudFiles "1"


// Increases spin speed when pressing +left/+right bind, making saber katas more effective by hitting enemies more often and dealing more damage
seta cl_yawspeed "3000"


// Enables "unlagged" lag compensation to adjust latency for high-ping players during interactions
seta cg_unlagged "2"


// Disables weather effects, such as fog, rain, snow, and similar environmental elements
seta cg_weather "0"


// Cleaner and more focused audio experience
seta cg_corpseSounds "0"
seta cg_fragSounds "1"
seta cg_jumpSounds "ally=silent self=silent"
seta cg_rollSounds "ally=silent self=silent"


// Improves visibility with the electrocution shader
seta cg_electrocutionShader "ally=s,teal enemy=p,cyan"


// Improves visibility by applying fullbright effects to Siege models and weapons
seta cg_fullbrightSiegeModels "5"
seta cg_fullbrightSiegeModelsTeam1 "a=white h=white t=white d=white j=white s=white"
seta cg_fullbrightSiegeModelsTeam2 "a=!blue h=!red t=!lime d=!cyan j=!yellow s=!magenta"
seta cg_fullbrightWeapons "blaster=!black mine=!blue detpack=!lime thermal=!yellow demp=blue disruptor=!darkmagenta golan=!#bf5700 repeater=green rocket=darkred conc=white bowcaster=!saddlebrown"